Detecting and Repairing Damaged Roof Underlayment from Slipped Tiles
Introduction: A solid roof underlayment is a crucial barrier against water intrusion, providing additional protection beneath the visible roof tiles. When tiles slip or become dislodged, they can compromise the integrity of the underlayment, potentially leading to water damage and structural issues. In this blog post, we’ll discuss how homeowners can identify and repair damaged roof underlayment caused by slipped tiles, ensuring their roofing system’s long-term durability and performance.
Identifying Damaged Roof Underlayment:
- Interior Signs of Water Damage:
- Check the interior of your home for signs of water damage, such as water stains on ceilings or walls, peeling paint or wallpaper, or dampness in the attic. These indicators may suggest water has penetrated the underlayment due to slipped tiles or other roofing issues.
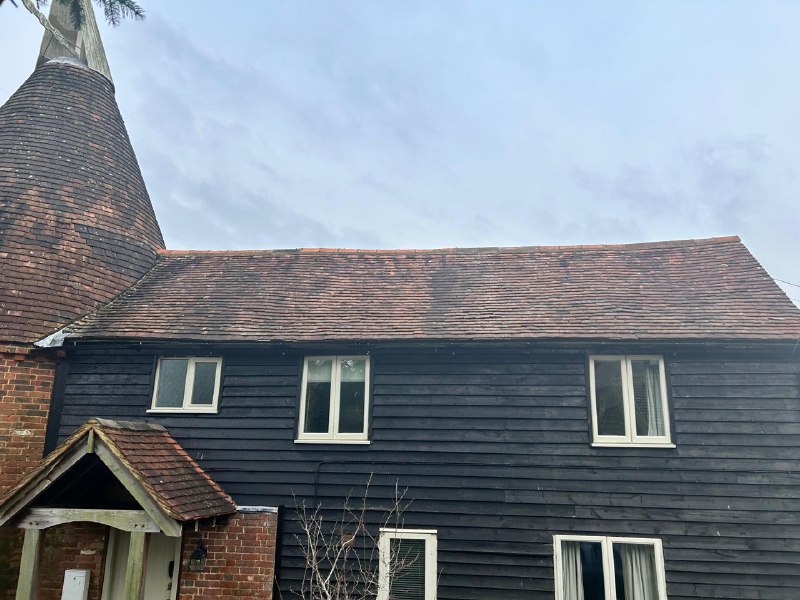
- Exterior Visual Inspection:
- Conduct a visual inspection of your roof from the ground or using binoculars to look for any visible signs of damage to the underlayment. Look for areas where tiles appear misaligned, displaced, or missing, as these areas are more likely to have compromised underlayment beneath them.
- Roof Leakage During Rain:
- Pay attention to any signs of roof leakage or water infiltration during rainfall, especially in areas where tiles have slipped, or underlayment may be exposed. Water dripping into the attic or interior spaces during rainstorms may indicate damaged underlayment.
Repairing Damaged Roof Underlayment:
- Secure Slipped Tiles:
- Begin by securing any slipped or dislodged tiles to prevent further damage to the underlayment. Carefully lift the affected tiles and reposition them back into place, ensuring they are properly aligned and securely fastened to the roof substrate.
- Replace Damaged Underlayment:
- If the underlayment is visibly damaged or compromised, it may need to be replaced to restore the roofing system’s integrity. Remove the damaged sections of underlayment and install new underlayment material, such as roofing felt or synthetic underlayment, following manufacturer guidelines and best practices.
- Seal Joints and Gaps:
- Apply roofing sealant or flashing tape to seal joints, gaps, or seams in the underlayment to prevent water infiltration. Pay special attention to areas where underlayment meets roof penetrations, such as vents, chimneys, or skylights, as these areas are prone to leaks.
- Conduct Regular Inspections:
- After repairing the damaged underlayment, conduct regular inspections of your roof to ensure that tiles remain securely in place and that the underlayment is intact. Address any issues promptly to prevent further damage and maintain the long-term performance of your roofing system.
Conclusion: Identifying and repairing damaged roof underlayment caused by slipped tiles is essential for preserving the integrity and functionality of your roofing system. Homeowners can effectively address roofing issues and prevent water damage by being vigilant for signs of damage, securing slipped tiles, replacing damaged underlayment, sealing joints and gaps, and conducting regular inspections.
Call us on: 01767 667 088
Click here to find out more about FP Roofing Sandy
Click here to complete our contact form and see how we can help with your roofing needs.